Creating Julia kernels for Jupyter
19 July 2018
Julia, Python, Jupyter
Instructions
I’m using the notebooks almost everyday as I think it’s great to develop a code in this environment before doing something for production.
Here I explain how to do it with Julia language.
Install a new Julia version
Julia is changing a lot these weeks and the probability you’ll need to upgrade your
installation is hight. Recently I installed version 0.6.4 and I must admit it took me… about 3 minutes. So definitively not a big deal.
The different version are available from https://julialang.org/downloads/, for my machine I installed the 64-bit, Generic Linux Binaries for x86, about 65 MB. Then I just extracted the archive and I’m done.
As the version 0.7.0-beta2 was also there, so I decided to give it a try.
What about the packages?
If you have a version 0.6.something and upgrade to 0.6.somethingElse, then the installed packages are still available, no need to re-install everything.
If you install for example version 0.7, then in this case an installation is required.
Get the new kernel for Jupyter
You have to install IJulia, the Julia kernel for Jupyter and build the package:
Pkg.add("IJulia")
Pkg.build("IJulia")
This last command will create the new kernel. On my machine, the Jupyter kernels can be found in the directory ~/.local/share/jupyter/kernels/.
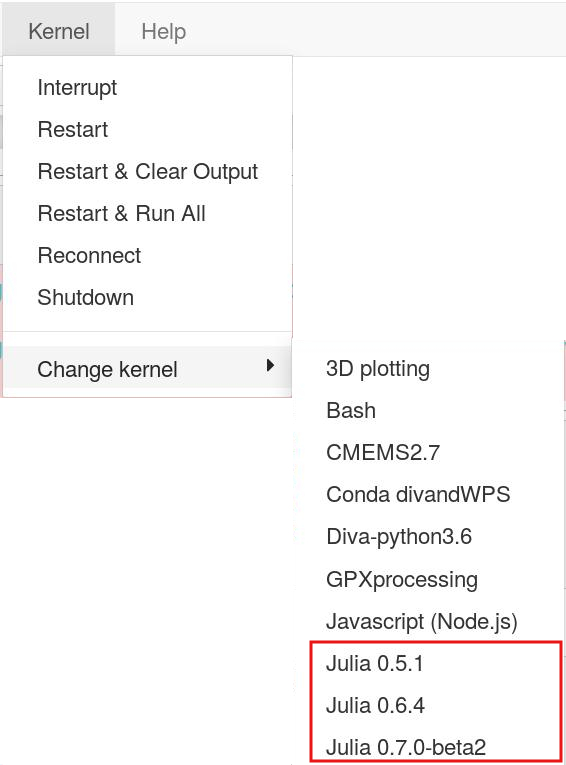
Now when run a Jupyter session, you have access to a variety of languages, including the different versions of Julia.
Change the kernel of a notebook
Image you already have the notebook and you just need to modify the Kernel. That’s straightforward using the Kernel tab.